Okay, so during my brainstorming session on how to showcase the way the pack works I realised a demo doc isn’t going to be the way as to showcase it… I would expose my whole workspace :))))
So I am going the “in writting” demo way, stay with me 
Prequisites:
- Have Coda Doc List Docs Pack installed.
- Have Users Doc Permissions Extra Pack installed.
Now the first thing we need is the list of docs within our workspace. Using the Coda Doc List Docs pack, we can pull in this information within a separate let’s call it Admin Doc:**
**

Drag in on a page in this Admin Doc the Docs sync table and you will have at hand all docs in your workspace.
Then we proceed to create a few formulaic columns, relations & buttons as such:
- Doc users column:
- We need to create a button to push the users from Doc user formulaic column to a new fresh Coda normal table (we will call this DB Workspace Users)
RunActions(
thisRow.[Doc users].Filter(PrincipalType = Email).Email
.ForEach(
AddOrModifyRows(
[DB Workspace Users],
Email = CurrentValue,
[DB Workspace Users].Email, CurrentValue
)
),
[DB Workspace Users].Filter([Is empty?]).[Delete!])
3. Remove doc users (relation)
We use this formula below to filter the relation so that in this relation we can select only the users who are in the Doc user formulaic column.
CurrentValue.Name.Contains(thisRow.[Doc users].Email)
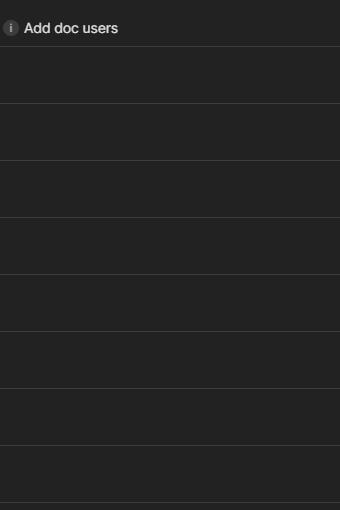
- Add doc users (relation)
We use this formula below to filter the relation so that in this relation we can select only the users who are in the Doc user formulaic column.
CurrentValue.Email.Contains(thisRow.[Doc users].Email).Not() and [Is empty?].Not()
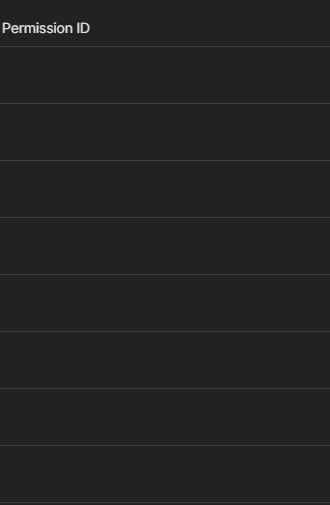
- Now we have to extract the permission ID from each user that is in the Doc user column, match it with the user that is selected in the Remove doc users and store it in a text column for future use in the buttons we use to remove or add users.
If(thisRow.[Permissions level].IsBlank(), “”, thisRow.[Doc users].Filter(CurrentValue.Email.In(thisRow.[Remove doc users].Email)).PermissionId)
- Add a Permission level select list column:
- Create a checkbox type column for if you want to suppress the welcome email when adding someone to a doc.

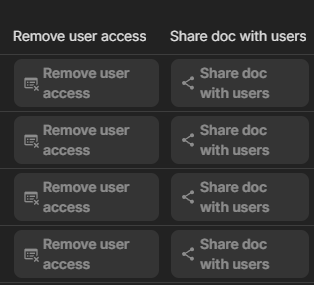
- We need to create a few buttons such as these ones:
Remove user access button formula:
RunActions(
thisRow.[Permission ID]
.FormulaMap(
[Doc Explorer]::RemoveAccess(
[User’s private Doc Explorer account], thisRow.Url, CurrentValue
)
),
ModifyRows(thisRow, thisRow.[Remove doc users], “”),
thisRow.[Refresh doc users]
)
Disable this button when: thisRow.[Remove doc users].IsBlank() or thisRow.Published.IsNotBlank()
Share with doc users:
RunActions(
thisRow.[Add doc users]
.FormulaMap(
[Doc Explorer]::ShareDoc(
[User’s private Doc Explorer account],
thisRow.Url,
thisRow.[Permissions level],
Email,
thisRow.[Suppress email?]
)
),
ModifyRows(
thisRow, thisRow.[Add doc users], “”, thisRow.[Permissions level], “”
),
thisRow.[Refresh doc users]
)
Disable this button when: thisRow.[Add doc users].IsBlank() or thisRow.Published.IsNotBlank() or thisRow.[Permissions level].IsBlank()
Now once we have all this we can create a canvas button to push all buttons on demand or an automation to do that every other time to have the latest overview of who is having acces to a doc.
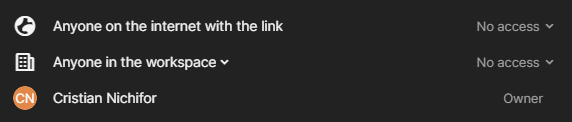
As you can see in all these docs, only the owner is the one that has access to the docs.
Now let’s add someone to the first doc:
Until we do not select a permissions level… the Share doc with users will stay disabled. Now is enabled since we chose a permissions level.
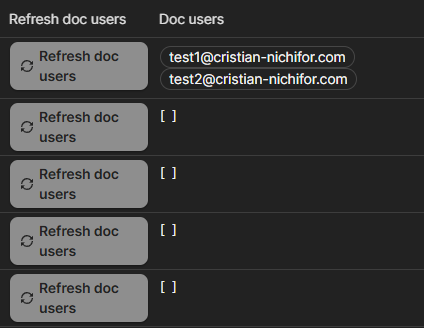
We will press and the check the Doc users column. And seen below… those two users have been added to the first doc.
We can confirm this by checking inside the share modal in tat specific doc:
To remove them, we select the users:
Press on Remove users access:
And check Doc users column:
Those two users have been removed from the first doc.
This is quite an easy process once you get the hang of it.