Scanning a barcode to Coda using webhooks

When we launched support for Webhook-triggered automations a few weeks ago I knew I wanted to create a fun demo to show off the feature. I had used the Tasker app for previous projects, so quickly reinstalled it and picked the first action and data point that struck my fancy. The result: I shake my phone and my latitude and longitude is logged to a Coda doc (see video here).

A week ago the official Coda account playfully pointed out the questionable utility of such an integration, while another user asked about the potential of scanning a barcode to a Coda doc. Challenge accepted!

I’ve had a few folks ask how I set it up, so here’s a breakdown:

Create the Coda doc

  1. Create a Coda doc to recieve the scanned barcodes.
  2. Add a table that includes a number column to receive the numerical value of the scanned value of the scanned barcode, called “Barcode”.
  3. Optionally add a Timestamp column which uses the formula Now() for new rows.
  4. Optionally add an Image URL column to contain the rendered barcode, which uses a formula from the Barcode Pack. In my case I used EAN13() formula, but it depends on the type of barcode being scanned.

Copy this template to get my exact setup.

Create the webhook

  1. Add a new automation to the doc, using the trigger Webhook invoked.
  2. Click the Create API token button to get a new token.
  3. Copy the webhook URL and API token and place them somewhere you can access on your phone later (perhaps in the same Coda doc?).

The template doc above has the webhook added, but you’ll need to create your own API token.

Install the mobile apps

  1. Install Tasker (Android only).
  2. Install the AutoBarcode plugin for Tasker.
  3. Open both apps, granting them all of the permissions they need.

These apps are not free, and Android-only.

Configure Tasker

  1. In Tasker, create a new Profile selecting the source as Event > Plugin > AutoBarcode
  2. Click the pencil icon next to the Configuration to open the AutoBarcode settings for the event.
  3. Keep all of the defaults, and click the checkbox icon at the top to save the settings.
  4. Click the back arrow at the top to return to the profile.
  5. Add a new Task for the profile, and name it “Send to Coda”.
  6. Click the plus icon at the bottom to add a new action to the task, selecting Net > HTTP Request.
  7. Set the Method to POST.
  8. Set the URL to the webhook URL of the automation.
  9. In the Headers field, enter the value:
    Authorization: Bearer <API token>
    
    Replacing <API token> with the API token you generated for your webhook.
  10. In the Body field enter the following JSON message:
    { "barcode": "%abmessage" }
    
    The structure of the JSON message can be whatever we want, as we’ll also be writing the formula to parse it later in the automation. The variable %abmessage comes from the AutoBarcode plugin, and will be replaced with the numerical value of the scanned barcode.
  11. Click the back arrow to save the action.

I’ve exported my Tasker configuration, which you can download here. After import you’ll need to edit it to set you own webhook URL and API token.

Finish the automation

  1. Returning to the Coda doc, in the Then section of the automation choose Add row.
  2. For the Table select the table created earlier.
  3. In Set values, set the Barcode column using the formula:
    ParseJSON(thisRow.[Step 1 Result], "barcode")
    
    The field "barcode" here must match the field created in the JSON body in Tasker.
  4. Turn on the automation.

The template doc has this setup already as well.

Trying it out

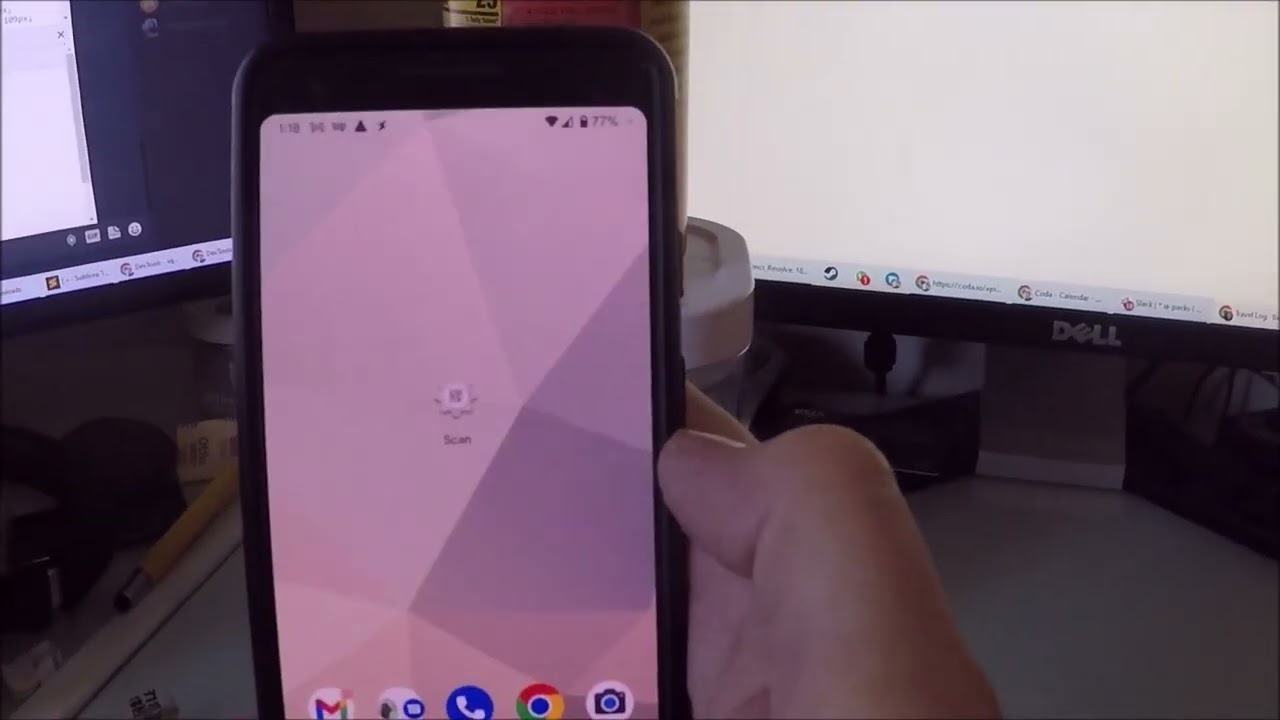
  1. Add a new widget to your home screen, selecting AutoBarcode > AutoBarcode Scan.
  2. Click on the the widget to launch the barcode scanner.
  3. Scan a barcode.

I hope you find this useful, and let me know if you have any questions or feedback. Happy scanning!
22 Likes

Hello @Eric_Koleda ,
Thank you very much for this elaborate set of instructions. I know what I will be doing tonight :-).
Greetings, Joost

3 Likes

well done @Eric_Koleda, my man

thanks for the instructions

and thanks to the coda team responsible for the webhook triggeted automations

i’m hooked ;o)

max

4 Likes

This is exactly what I have been looking for! Only I need this for iOS. We have Security Officers that check fire extinguishers on their rounds and they have QR codes on them. We have an app that will read them but it won’t transfer the data to Coda which is what I really want…

3 Likes

Hello @Eric_Koleda ,

With some effort, but I got it to work, thank you very much. For some reason it kept crashing and I turned to Tasker for help - they gave me an alternative version of Tasker and I got it to work pretty quickly afterwards. If it weren’t for your tutorial I would have never thought about a problem with Tasker, since both Tasker and Webhooks were already working for a location task.

Thanks again,
Greetings, Joost

3 Likes

Dear @Eric_Koleda ,

Although your instructions are detailed, somehow I am not able to get the scanning of barcodes working.
Therefore I decided just to use the copies of your work provided, so far so good.
The Tasker configuration is a text file and should be *.xml from what I see as file format, isn’t it?

If you or @joost_mineur have come across potential pitfalls or have additional suggestions, I will really appreciate.

Hi @Jean_Pierre_Traets - It was tricky the first time around too, and I may have forgotten a step somewhere. The file does seem to contain XML, but for some reason the app uses the .txt extension, not sure if that makes a difference at all.

Airtable had this built in where you could use your phone’s camera to simply scan and have it search a table. This isnt possible natively on Coda?

1 Like

Dear @Eric_Koleda,

Just to let you know that this morning, “with a fresh head”, I managed to get it working. :grinning:
It came out that I did type “Authorization:” in the Headers.

Special thanks for @joost_mineur for sharing his settings with me :handshake:

2 Likes

@coda Please build an ios workaround :pensive:

1 Like

Hey @MK_2109 you can trigger webhooks in Coda from Shortcuts on iOS which allows you to bring in data from most places on iOS.

2 Likes

Hey guys,

I’m wondering if it’s feasible to create a Coda pack for internal use, allowing users of the Coda app on Android or iOS to utilise it?

Cheers,
Tommy

@Tommy_Lambert - Yes! Packs can be kept private, shared only to select people or groups, or your entire workspace. While the mobile apps don’t allow you to add a Pack or use it’s building blocks, if a Pack formula or other building block is already wired up to the doc then it will function in the mobile app as well.

Hi, somewhat related to this. I’ve created a pack for the TaskerAutoremote Plugin. This makes it possible to send commands to Tasker. So for example press a button in a row in Coda, Tasker gets the Location Coordinates from your phone and by using a Webhook updates the row in Coda with the results.

I use this to map the food sections and product locations in the grocery store so my grocery list can calculate the shortest route and sort my list Items accordingly. Where on this forum would be good place to Showcase these things?

For the pack documentation see:

2 Likes

Nice work @Joscha_Filius ! Probably the best place to showcase this work is right here in the Showcase section. Including a video of the process end-to-end would be really cool and help spark the imagination.

1 Like