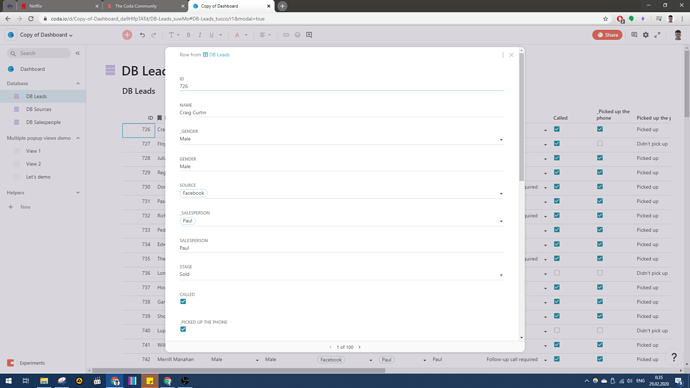
Most likely you’re familiar with “Expand row” feature that lets you see a popup for a row by clicking here:
And perhaps you know the action Activate() to open that popup programmatically with a button, or at least used the “Add new row and open for editing” checkbox.
And also you may know that you can configure row details popup layout just like you can edit the layout in Detail view:
What you may not know though is that you can configure this popup’s layout individually per each view of your table.
Now, when you use thisRow.Activate(), the popup that will be brought up will always be the one of the master table. However, if instead of Activate() you use view-specific URLs like #_tuAPf/r{RowID}&modal=true, you can summon popups as configured for other views.
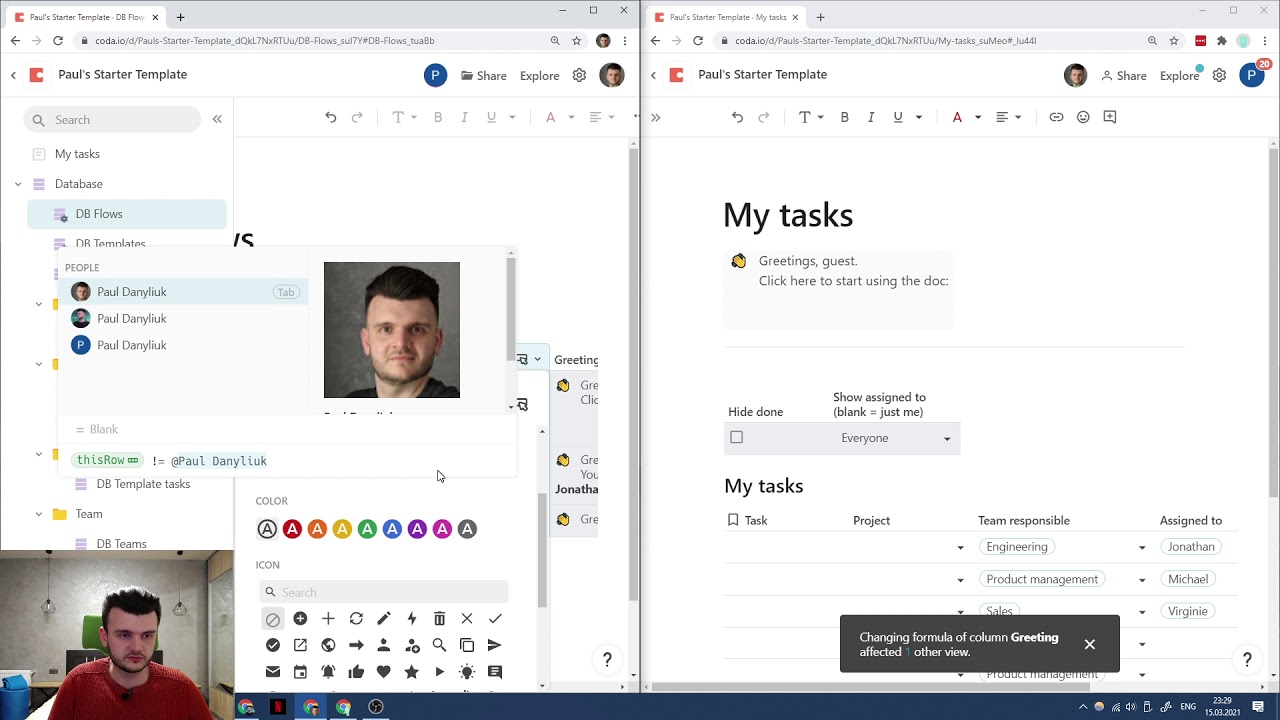
![]() Watch the video, and you’ll get it
Watch the video, and you’ll get it
With this trick you can have a compact table with a few buttons, each of them configured to open popups with only certain fields. E.g., if it’s a table of Classes, you can have one popup that deals with cancellation and rescheduling, another popup with program management (lesson doc links etc), another popup to review attendance and homeworks, and so on. Just make a few views that you can hide away, then configure popups differently for these, and then open the respective popups with buttons set to OpenWindow() different links.
UPDATE: Now there’s no need to hack around with URLs. There’s a new function OpenRow() that takes the view as an argument. The formula would be simply like:
thisRow.OpenRow([View 1])


